Looking back at the archives, I realise I never mentioned once in September my embarkment upon this Colinettey journey. My lovely Mama's birthday is in September, and I was keen to knit her something very snuggly, luxurious and special, but knew I had little time to do it. So instead I took her to the most luxurious knitting store in the state- Calico & Ivy, and told her to look around, take her time, we would browse the store together and she was to pick out her favourite yarn and I would purchase enough to knit her a scarf! We had such a fabulous time looking through all the quilting and knitting bits and bobs, I was over the moon to discover they had wooden Addi Circs in so I grabbed some in a size ten. Mum chose the Colinette Point 5 in the MardiGras colour way.
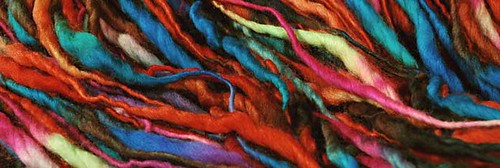
I looked it up on the website, and they named it MardiGras as follows :
" Bright, vibrant and full of song. From hot reds with rhythmic flecks of Lapis blue, velvet purples and sunset yellows this shade takes a snapshot of the famous carnival. Mardi Gras, never has such a name had so much meaning... A celebration of humans fight for freedom, survival and happiness who's music vibrates streets... "
The colours evoke that celebratory festive feeling, almost revolutionary mix of colours -
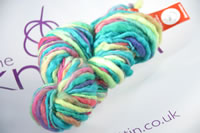 I like it!! I had bought some Colinette Point 5 in the Popsicle colourway a few weeks earlier in plans to make a scarf for myself, when I was in the store I saw the MardiGras and almost bought it to make something for Mum, but hesitated - I'm glad I did because even though she picked the same one anyway, it was so much fun trolling about the store together, and it added a nice touch having mum personally select her colourway and fibre too :)
Seeing as the Colinette Point 5 is such lucious yarn in it's own right, I didn't want to distract from the delicious slubbiness and texture of the fibre by using a stitch pattern or anything too intricate. I decided on a simple stockingette stitch scarf. I figured that would show off the flow of the yarn on the Knit side, and the colours would show well on the more bumpy purl side.
...
Can anyone tell what's wrong with this plan?In my newbie Knitter excitement I didn't research stockingette stitch or any of it's properties - why would I need to? I soon realised that stockingette stitch is fine for knitting in the round, but try to make it lie flat? You're dreaming!
I felt really disappointed having knit over a foot already, here I've laid it out to take a photo..
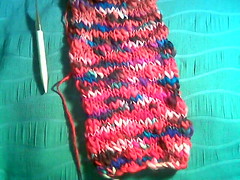
But lie it the other way up and vvvrrrrrrrrrriiiiiiiiii!! It curls up!
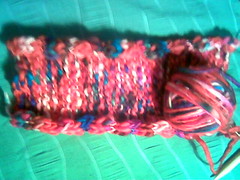
I took one last look, a a photo to commemorate, the frogged it away, "rip it, ribbit ribbit ribbit" all the way to the frog pond. I was left with curly little coinette noodles - sad, but yummy!
I was so frustrated as I had a real idea in my mind's eye of how I wanted it to look. When Mum and I had visited Calico&Ivy I asked them if they stocked Debbie Stoller's StitchnBitch as I say they had the Happy Hooker Crochet book on display. The uber friendly lady behind the counter siad she didn't think so, but would check in the cupboards for me. She came back and said they don't have any for sale, but here's our old store copy, it's a little dogeared but would I like to buy it from them anyway? She'd only charge me ten bucks? Lemme tell you she didn't need to ask twice! I was SO excited to have scored a pre-loved copy, I LOVE preloved copies, I adore new copies too 'cause they feel so special and pristine and -mine- but wwith second/third hand copies I can just imagine all the knitted gifties and lovely woollen items people have been holding and creating while the pored over the words in the book. At this stage the two beginner knitting books I had ordered had also arrived, so I whipped out all three books and scoured the pages for info on how to make stockingette stitch lie flat. They suggested knitting a few ribs at the edges to make a little ribbed border, so that's what I tried! I knit and knit, knit some more, kept knitting... I had other projects on the go and other assorted work and play things that kept me from my knitting, so it was a slow process as I didn't ever feel I had much time to truly apply myself. But slowly my last ball of Point 5 Mardigras began to shrink...
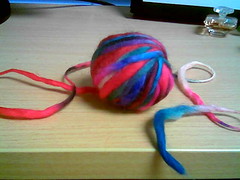
It got smaller...
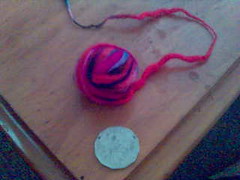
And smaller... (point of reference here on in is an Aussie 50c piece)
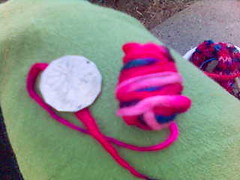
So tiny it wasn't even a ball any more, more a little rectangle that lives on the inside of balls of wool...
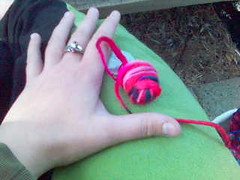
I was sitting outside in the afternoon enjoying the mild weather as I knit my last few stitches on Mum's scarf, the ball by then simply a string of yarn inching up towards my needles, and cast off :)
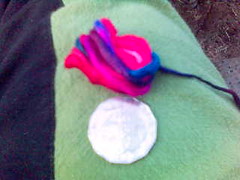
I was so excited I ran in and showed the skoota, absolutely thrilled to bits with my creation! It was curling like you wouldn't believe, becoming a tight little tube rather than the 25cm wide it was flat. But I'd had a word with some ladies at the SnB and was hoping that if I blocked it it would have a better chance of staying flat. So now all I needed to do was finish it off and block it then I could give it to lovely Mum!!
Before I had finished the scarf I had added tassels to my cast on edge, that way I was able to leave aside enough yarn to put the finishing tassels on at the end, but still make the scarf as long as possible, using up all the delicious yarn. Here are my first two tassels! Whee!!
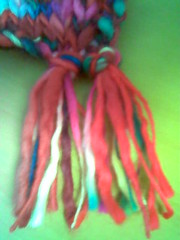
I alternated which side up the tassels were, so the tiny nubs at the top of the tassels alternate from innies to outties - cute! She was all done. Now I needed some magic to keep her lying flat to show off the rib border and the stockinette in the centre. So I geeeeeently immersed her in a sink of warm soapy water. Swished her about ever so carefully..
Rinsed her off..
And lay her out to dry, rolled her in the towel and squeeezed all the water out
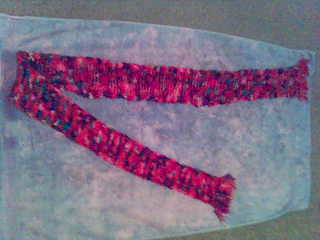
Then I set up two towels reaching all the way from one end of my 'studio' to the other and laid the scarf out in one long lime - it was so long!! Much longer than when it was dry! I carefully laid it out to the width I wanted it to be, and made sure it wasn't over stretched. It looked brilliant :) Laid out like that (sorry no photo) i could really see where I had changed from one skein to another. I had changed skein a few times to ensure a consistent colour, no blotchy patches, but even then I could see where I had changed, one skein had a lot more electric blue in it than the other. A non-knitter wouldn't notice, particularly when it is all wrapped up being worn, but it was interesting, and a good lesson to continue working like that, changing balls while knitting.
DOESN'T IT LOOK FANTASTIC!
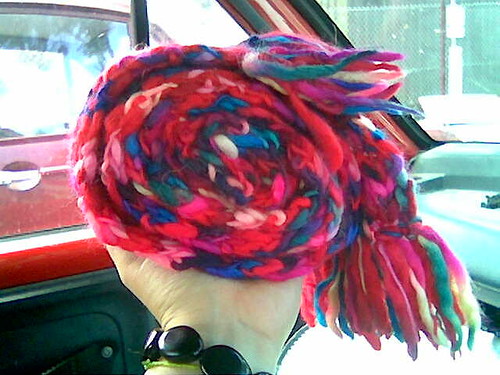
I know it's rolled up like a liddle snail, but I love that shot:) So I wrapped the scarf up all pretty with tissue paper, and a bright bag, lots of little stars and sparkles inside too, which unfortunately were too hard to capture on camera, and off we went to bestow upon Mum!
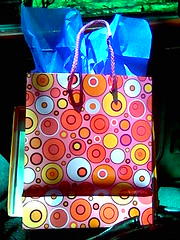
And she loves it! Huurraaaaayy!!! :D :D :D
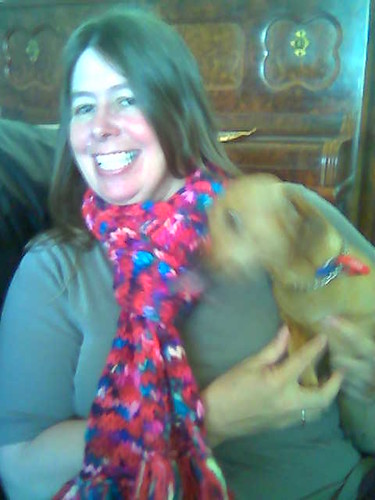
Here she is being attacked by Patsy the Dachsund with a cuddle onslaught! THe scarf still curls, despite all my efforts, but Mum was absolutely thrilled to bits with it, which is awesome and makes me feel all happy and bubbly! I had given her a sneak peek earlier when the scarf was only halfway through, I had it in my knitting bag with me once when we were all having dinner together :) She was super excited then and loved the idea with the tiny rib border. So the border didn't end up keeping it flat, but it looks magic anyway, and you can wrap it around yourself such that all the stitches can be seen anyway. And besides, Mum loves it and that's what counts :) Here she is with her two doggers a bit more calm! Patsy on the left, and Maggie on the right - awwwwww!
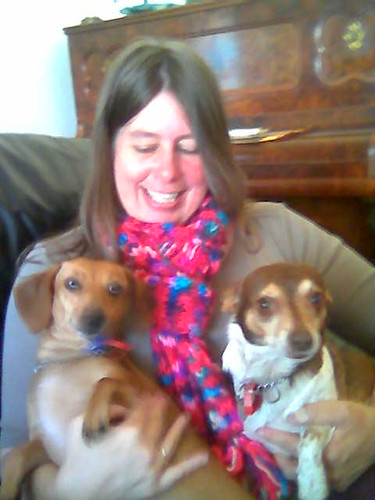
Thankyou Mum for all your inspiration throughout my life, and all the creativity and love we share, I so enjoy our times together and look forward to many more arting and crafting times together in the future! Much muchly love and cuddles to you :) XoXo
No comments:
Post a Comment